I made it through my midterms! Let's just take a minute to celebrate that! You know what else that means? I'm officially in the second half of my program! (woo!) This is so crazy to think about. They say that time flies when you're having fun, and boy they (whoever "they" are), couldn't be more right! I am and have been loving every minute of school, and I can't wait to get started on things that feel a little more unfamiliar for me. Again, not that I didn't totally love the first half, I did, don't get me wrong, but I've made cakes and pies and whatnot before. The bread and petits fours units both really opened up my eyes to some things that were totally different than anything that I'd ever made before.
Now here we are, in the chocolate unit! I've never, ever worked with chocolate in this sense, other than like, melting it, mixing it with peanut butter, and letting it re-harden to create a bark type dealio.
On our very first day in the chocolate unit, we got an intro to the new kitchen -- oh yeah, did I mention? I've moved into the second kitchen, which is super exciting! Chef Jeanne was supposed to transition to Chef Stacy's (our instructor for the second half) assistant, much like what Chef Stacy was doing for us in the tail end of the first half, but Chef Stacy was on vacation, then she had a really severe allergic reaction, then she was really sick (we all felt so bad for her, the poor woman), so instead Chef Jeanne was our instructor for the chocolate unit, too. This wasn't really an issue; we all love Chef Jeanne, we've really bonded with her as a class and she's been with us since the very beginning, but Chef Jeanne didn't have a new class starting in the first level for about a month, so it wasn't that much of a problem.
So anyway, after our introduction into kitchen 2, we got right into a PowerPoint and video about tempering chocolate. We talked about the different methods of tempering, how chocolate is produced, why we temper chocolate... pretty much anything you would want to know about chocolate, we covered in this video and presentation. From there, we got to do a mini chocolate tasting! We tasted everything from cocoa powder, cocoa nibs, and 100% chocolate, all the way down to 100% cocoa butter (which just sort of tasted like lotion, if anyone is curious. I don't recommend it).

Chocolate tasting!

Getting ready to temper!
After all that was over, we got right into tempering! I was really excited about this, because this is something that I'd never done before, and was really excited to try. The first tempering method that we tried was the tabling method. This is where you heat your chocolate up over a double boiler to a certain temperature (depending on which type of chocolate you're using), then pour about 1/3 of it out onto a table with a marble slab, and move it around to cool it down, scrape it back the bowl to gradually lower the temperature of the chocolate, then we heat it briefly to bring it back up. If you're thinking that it sounds like a huge mess, you're totally right. This was a mess, there was chocolate everywhere. All of my pristine white chef clothes were covered in chocolate almost every night in this unit. Fortunately, tabling wasn't the only method we could use, otherwise, I think I probably would've had to buy new aprons and things.

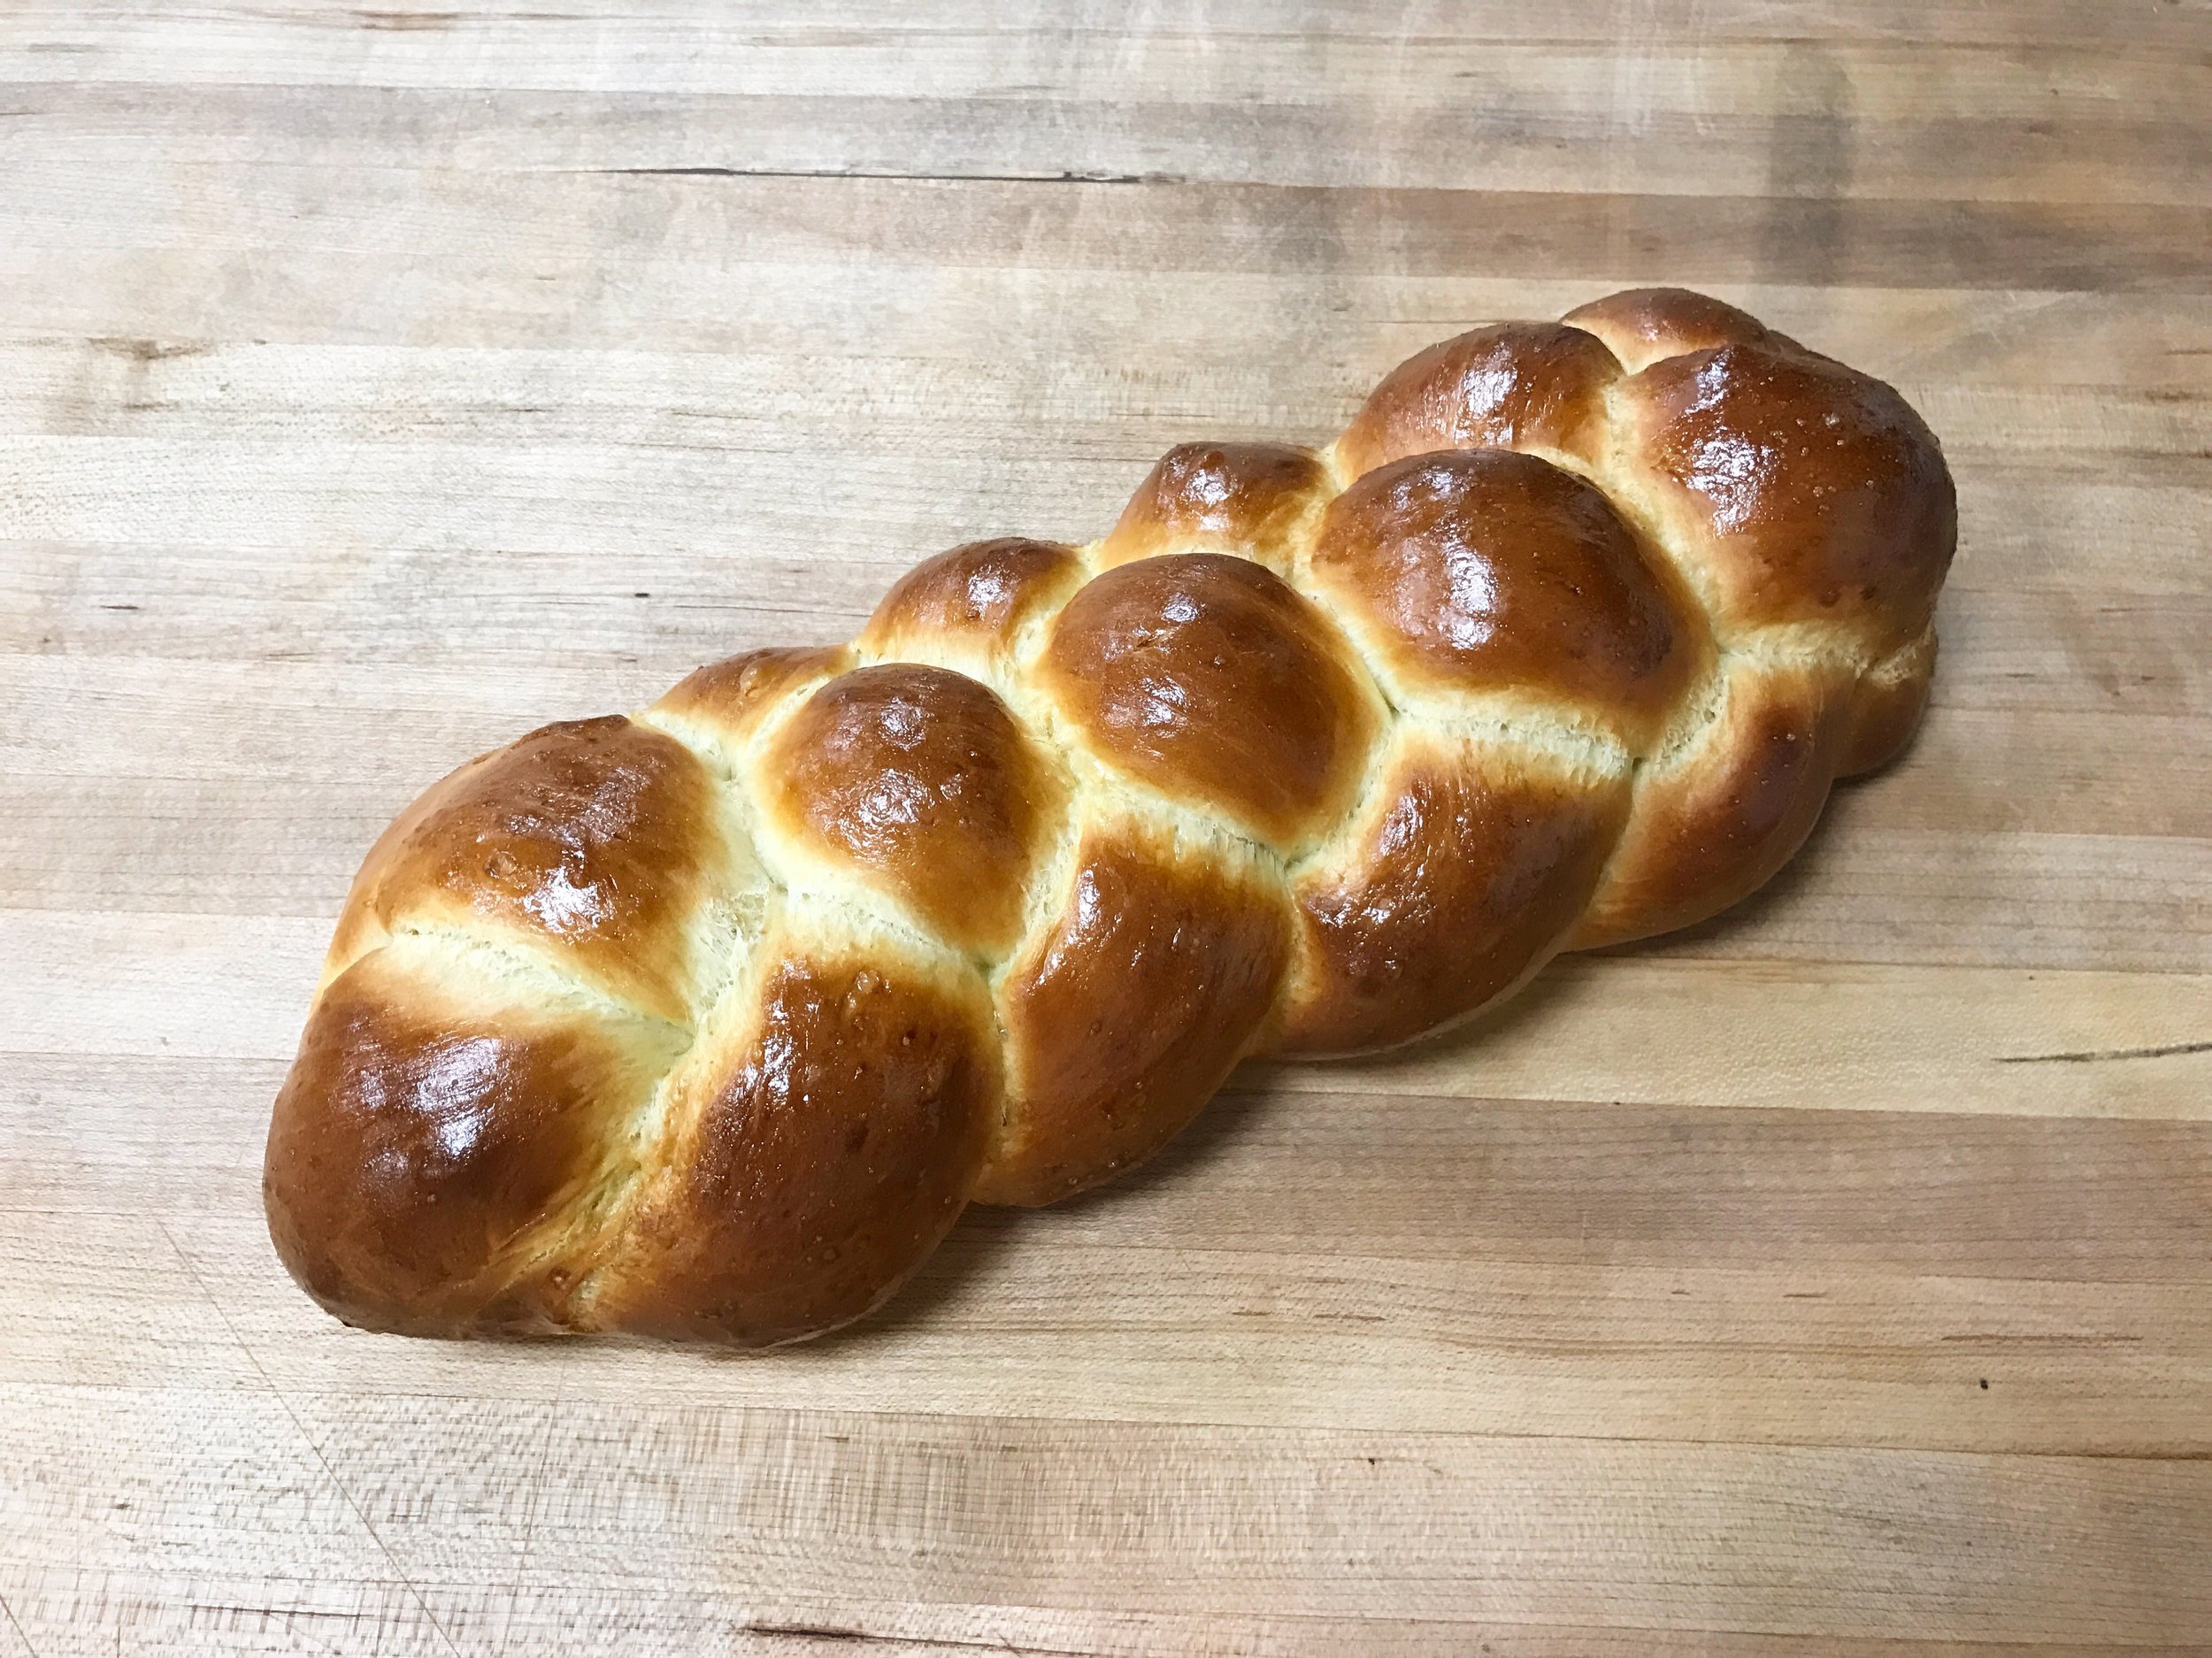
My first successful temper
That was just about all that we did in class that first day, was practice tempering using both the table and ice bath method. Of the two methods, I much preferred the ice bath method, but there was still one method that we were going to learn come next class: seeding.

Chocolate leaves in progress
Coming into class that next day, I was really excited to learn the seeding method, as we were promised it was easier and quicker, and slightly less messy. And I have to say, now that I'd done all three methods, holy moly guys, why was I even playing with those other two tempering methods?? Seeding is much easier, faster, and virtually foolproof! After we learned how to seed with milk and white chocolate, we got to making our first chocolate product: a chocolate cake with chocolate leaves! The cake was pretty self explanatory, very similar to one of the other cakes that we did in the cake unit. The real hero of this cake was the chocolate leaves. How we made these was super cool. We had some lemon leaves that my teacher had ordered for the day, and we made sure that they were nice and dry (because chocolate and water are a HUGE no no), and then just spread our tempered chocolate onto the leaves and let them set. We had to make a pattern too, now that I think about it, so we had to do the pattern first before the final coat of "background" chocolate.

Completed cake with leaves

Chocolate tasting... yummy!
After we got our leaves set, we got to do another chocolate tasting, this time, with store bought chocolate! Chef Jeanne had told us each to bring in one candy bar... between my whole class (there are only 10 of us) we must've had almost 30 different types of chocolate... whoops. LOL It was interesting to taste how the different store bought chocolates all compared to one another, especially ones that were the same percentage.
On the third day in the unit, we got to make some chocolate orange truffles! this was the first actual chocolate product that we made that wasn't just tempered chocolate by itself. The truffles were being made in preparation for our chocolate boxes; something that just sounded so daunting when the unit started, and even was up until we actually finished them. I remembered seeing other class' chocolate boxes on display just thinking that there is no way I'd be able to do that, but somehow, I did. We made the walls, and Chef Jeanne showed us a few different techniques for how to pattern them. I went with a geometric sort of design. We made our designs on acetate so that once they set and released, the pieces would be super duper shiny.

My chocolate box pieces, waiting to be assembled

The "bad" box
On the fourth day we finished our truffles and left them aside for when we finished our boxes. The most exciting thing that we got to that night was begin to assemble our boxes. I ended up with enough pieces for two boxes, so I took my "bad" (read: unfinished) box home, and left my nicer one at school to leave on display. Most of our time that night was spent assembling and finishing the truffles, but toward the end of the night we got to talk about the chocolate candy stand, which was our first showpiece assignment. It was ungraded, just to give us a little bit of an introduction into making showpieces, but this task seemed even MORE daunting than that dang box, which we hadn't even fully finished yet.
After the long weekend (we had Monday off for a holiday), we finally got to finish our chocolate boxes, chocolate bows, and we made all the candies that our chocolate candy stands would eventually hold. I think that we made 4 different types of candies, plus the leftover truffles that we had for the boxes. Each team ended up with an entire sheet tray full of truffles, carres, chocolate covered nuts, rochers, etc. We had to make sure that we had sketches prepared for the candy stand, and have them drawn to scale, just so we had something to go off of when we began construction. Chef Jeanne looked over all of them to make sure that they were doable, and once they'd passed inspection, we came in on the 6th day of the unit to start our two days worth of candy stand creation.

Aaaand the good box, bow and all! (Shoutout to my pretty handwriting LOL)

Yup. Those feels
The next two days were sort of a blur, tempering, molding, forming, retempering, etc. But remember when I said that I'd loved every day? That first day of candy stand construction, man I left class with such a disappointed and discouraged feeling, I've got to tell you. I felt defeated, like there was no way that I was going to make this thing happen. It had rained really heavily all day, and the morning class had been using the oven all day, so the kitchen was more humid than normal, the AC wasn't really on, and no one (this was not a problem limited to myself) could get any chocolate to temper to save their lives. I think at the end of the night, my original plan was to have fully molded all of my pieces so I could just focus on assembly during day 2. How nice that would've been. I think at the end of that first day, I had a chocolate duck and a chocolate cloud, and a poorly tempered wall. I had so much more at one point, but I think since there was just so much moisture in the air, nothing was setting at all. It was super super frustrating, but when it all comes down to it, I've only had one really bad day the entire time, so I knew that it was a fluke, and that is wasn't my fault. Chef Jeanne said that chocolate is super temperamental too, so some days, everything will work perfect, and other days are just off. So I had an off day, I brush it off and move on, and that's all I can do!

My completed candy stand! 100% chocolate
Day 2 of candy stand, I have to say, went 1000 times better. I got all my pieces molded, and assembly was relatively simple. I had to rush through it a little but, but hey, I made it happen. Everyone in my class did such an amazing job with their chocolate candy stands, especially after all of us had had such a terrible day the day before.

And finally, my practical
On our last day in the chocolate unit, we had a test, of course. We made a chocolate cake, then had to make tempered chocolate tiles using two different types of chocolate, and make a tempered chocolate bow, much like the one that we did on our chocolate boxes. This whole night was a bit of a blur too, to be totally honest. Things were taking a lot longer than usual, and everyone finished a couple minutes late, myself included. But at the end of the night, we got our third and final book, and we would get into individual desserts starting next class!
Stay tuned for my next blog, and if you want more frequent updates, you can check out my Instagram.
Thanks for reading!
P.S. And with that, I'm caught up on all of my blog posts! I'll do one last big unit update at the end of individual desserts 1 (which I'll be done with on Wednesday), but then I'm hopefully going to go back to writing weekly! Thanks for your patience :)