
I'm slowly getting back on track with blogging at the end of the week (woo!), and as I said before, I'm going to try my best to keep it that way. After the puff pastry unit came to a close, now we're moving into cakes, which is super exciting. At ICC, there are two cake units, the first of which I started two weeks ago. The first unit focuses more on basic things like construction, crumb, frosting, etc., whereas the second cakes unit focuses more on decorations and the creative aspects of cakes.

Lemon pound cake with a lemon glaze. It's a lemon wonderland!

Marble cake, one of my personal favorites
We started off with pound cake and cupcakes, two of the most basic cake things. I always thought that pound cake was named as such because there was a pound of butter in it. Turns out, there's a pound of quite a few things in there (butter included!), but also sugar and flour. We made two types of pound cake that night, lemon and chocolate marble. I'm not usually a fan of lemon cake, but I've gotta say, this one was pretty delicious! Of the two, though, the chocolate marble was definitely my favorite. The chocolate marble cake was a high ratio cake, which meant that it had a very high ratio of sugar, when comapred to the other ingredients. It had a really nice, fine texture. I could've eaten that cake for days.

Mmmm... chocolate cupcakes!
The other thing that we made that day was chocolate cupcakes with a chocolate frosting / glaze thing. These were also really tasty. I love a good cupcake, but I'm not too big on frosting, so these were perfect for me. They just had a nice thin layer of the chocolate glaze over the top, so the frosting was there, but it wasn't too overpowering.
On Wednesday, we made to types of Genoise cakes: one vanilla and one chocolate. These cakes are super finicky because they're basically held up with air. The cake only has 5 ingredients, and it starts by mixing an egg, sugar, and salt over heat, then once it hits a certain temperature, you beat it in a mixer until it's cooled down, and tripled in size. From there, you fold in sifted flour as gently as possible. Once that's all combined, you take a tiny bit of the batter, and "sacrifice" it - mixing it in with the butter, without any of the care we had with the folding. Then mix that little bit of sacrificial batter back in with the other batter, by gently folding it in. Then it's into the prepared pan and baked immediately. This is definitely not one of those cakes that you can let rest on the counter, because the longer it sits, the more it will deflate. The key with this cake is that it's tall enough to slice into 3 even layers after it's baked, so getting that height is really important.

Vanilla genoise, cooling upside down

Prepping for the chocolate genoise
We did the same thing with the chocolate variation, except rather than baking it in a cake pan, we baked it into a flat sheet pan, and we would end up cutting out the layers with a cake ring, almost like a giant cookie cutter.
After the cakes were both baked and we had dinner, we made a big ol' batch of pate a bombe buttercream. Like I said earlier, I'm not a huge frosting fan, but man this stuff is delicious! That is, in small quantities. Since there was so much butter in this frosting, it sort of left that butter feeling in your mouth. You know what I'm talking about? But if you had just a little bit, like dipped in a candied almond – which is how we all sampled it – it was mighty delicious.

Giant batch of buttercream, egg for scale

Completed genoise!
Once the frosting was made, we cut our cakes into layers, then soaked them with a combination of simple syrup and a liquor of our choice. I went with amaretto, because I thought that it would go great with the apricot jam that went in between each layer. The other option was orange liqueur, and I just thought that amaretto sounded a little bit better to me. Once the cakes were soaked and stacked, it was time to frost and finish them! This was a really lovely cake, and it sort of just absorbed the flavor of whatever you soaked it in. That plus the filling was a great combination.
On Friday we had a lot of recipes to do, but we only ended up taking one cake home. The rest were for cakes that we were going to assemble next week. We started off making the biscuit dacquoise, which was a meringue based cake, and had a similar feel to something that we did back during the tarts and pies unit. We piped the cake into two rings, and baked those off. While those guys were baking, we got working on our lemon chiffon cakes. Again, I'm not a huge lemon person, but this cake at least smelled pretty good. What I thought was interesting was that this cake needed to be cooled upside down. Normally, we always flip cakes over to cool them, but this was a pretty delicate cake, and we couldn't risk flipping it. But before we could start to cool it off, we had to bake it first.
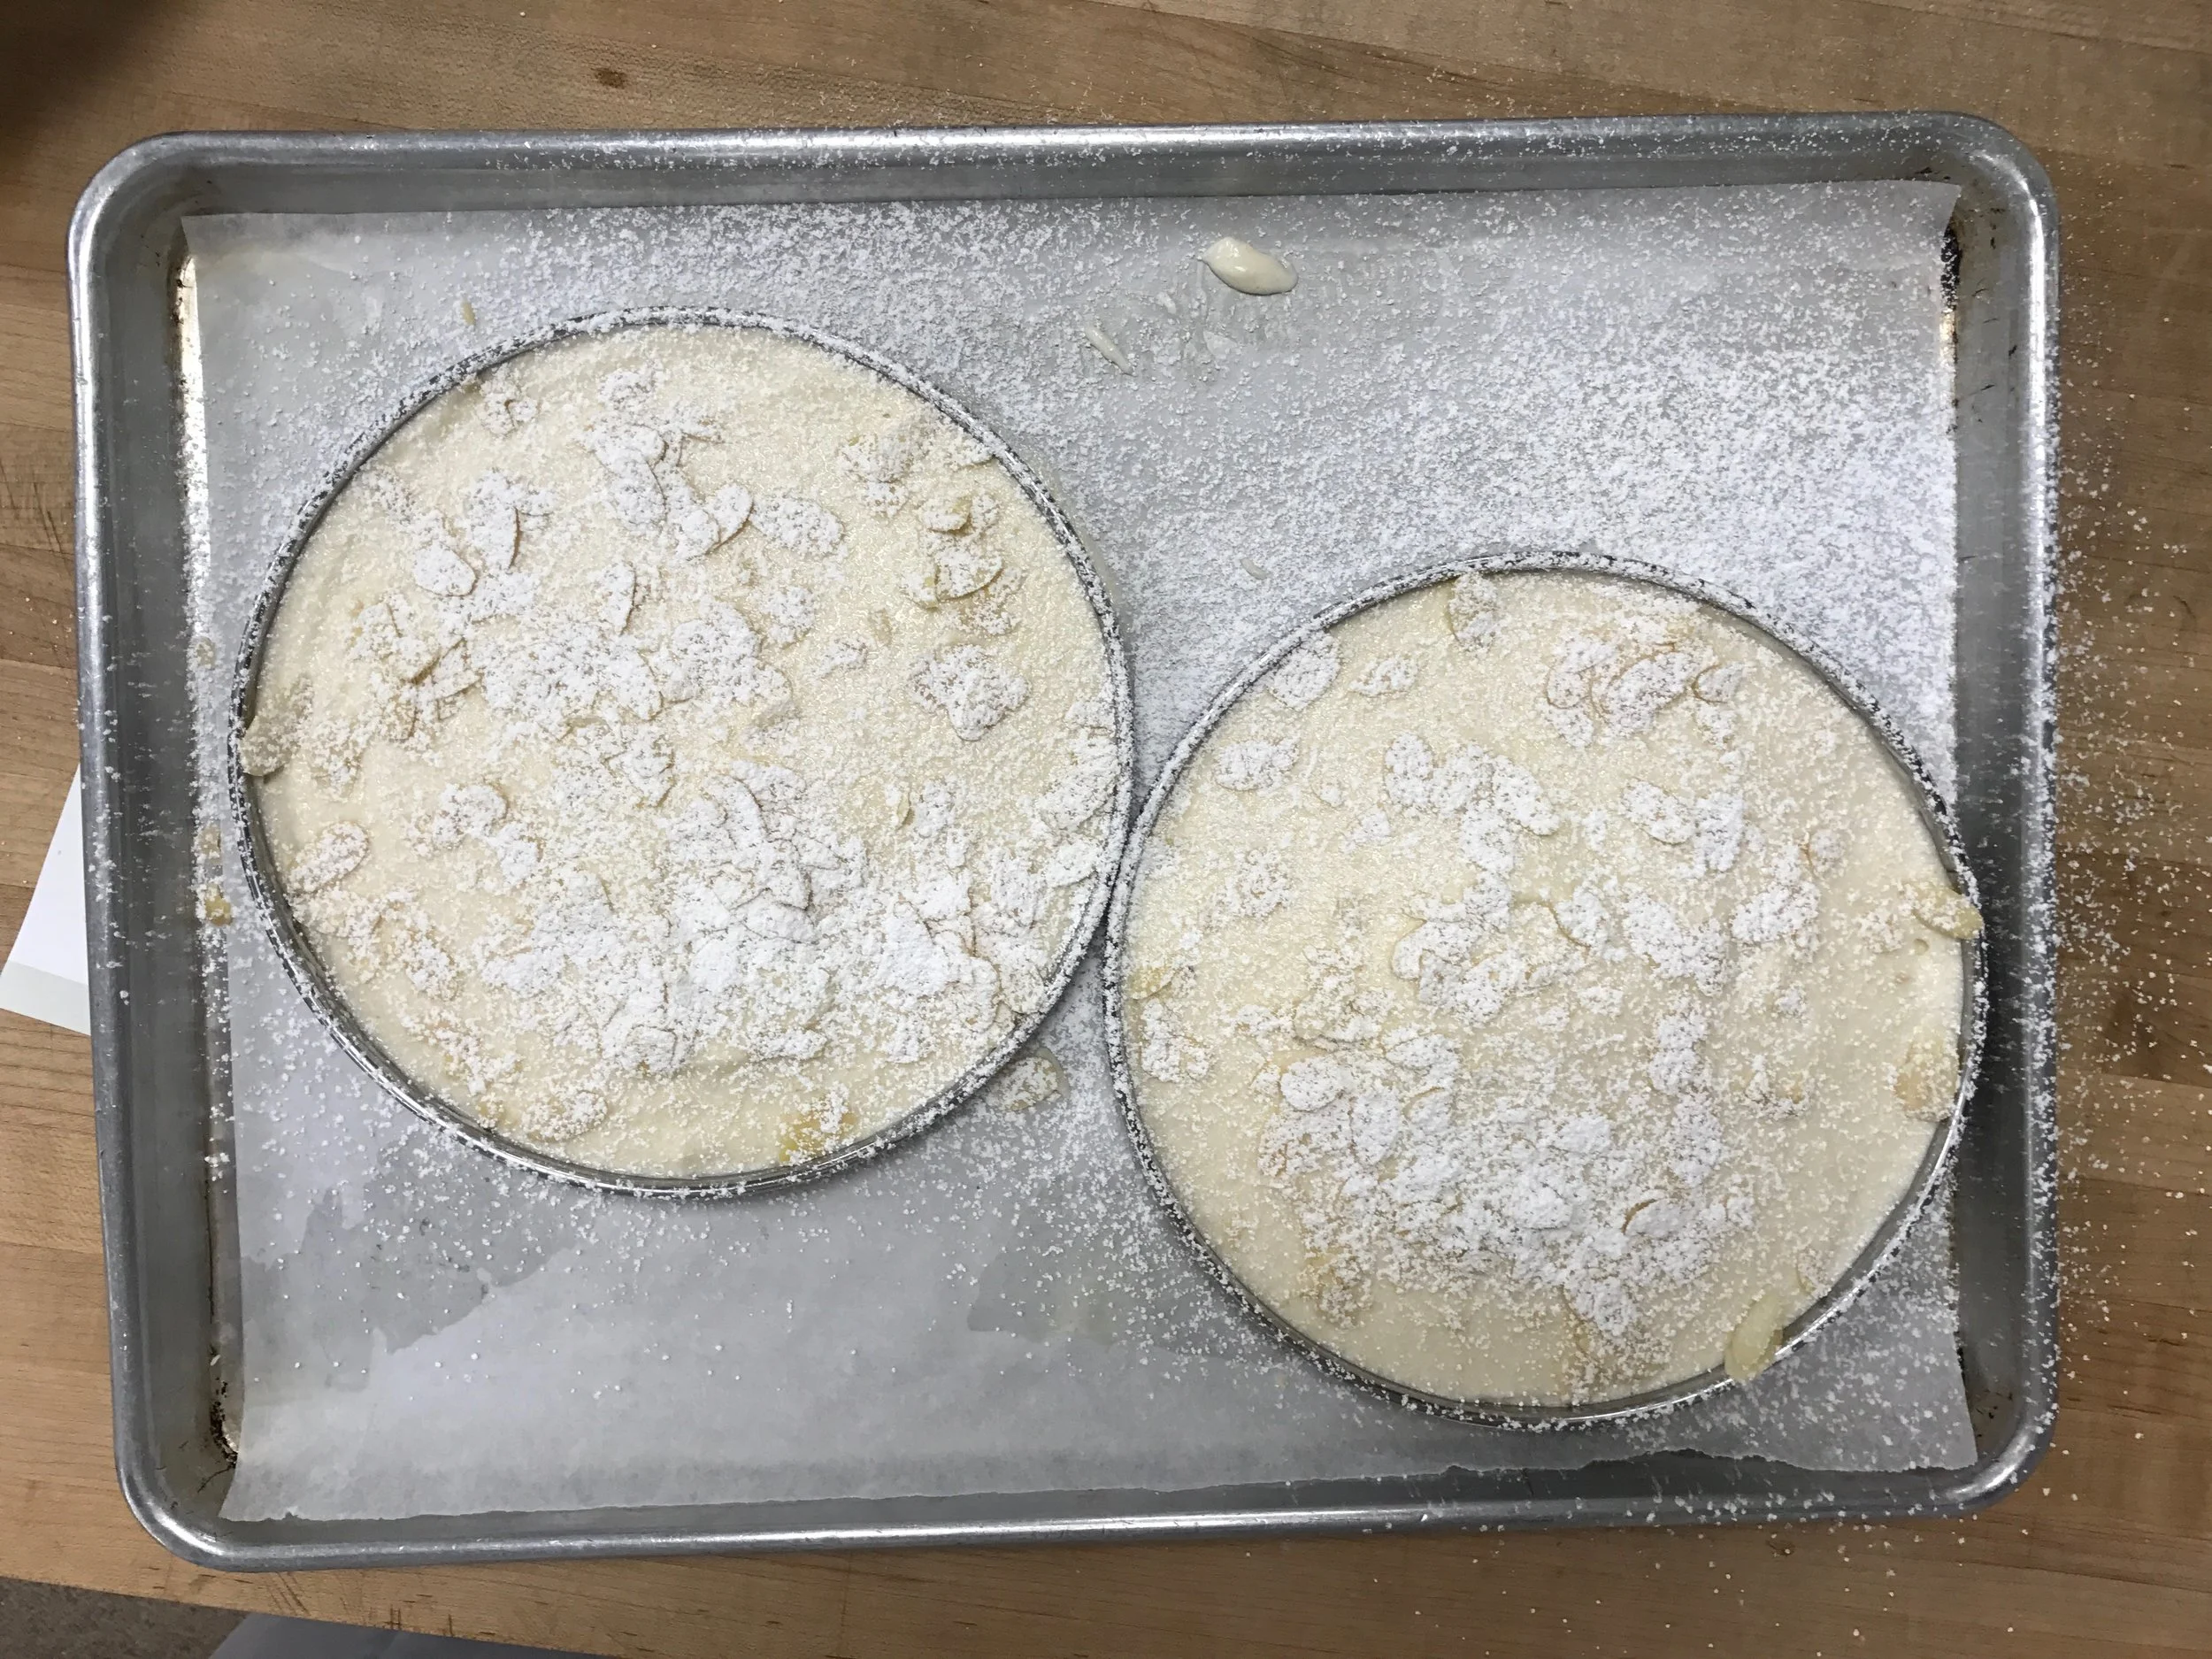
Spreading the meringue into the pans

Chocolate meringue logs
After those were in the oven, we made two different kinds of meringues. The first kind we made into 4"x8" sheets, since those were going to be used in our marjolaine next week, and that's about the size of a finished cake. The other merginue was a chocolate variation. We whipped the batter up and piped off some chocolate meringue logs. These were just going to be saved until Monday. They were just for decorating one of our cakes, to go all around the outside. We had to bake all of the meringues for quite some time at a pretty low temperature, since they needed to be nice and dry.
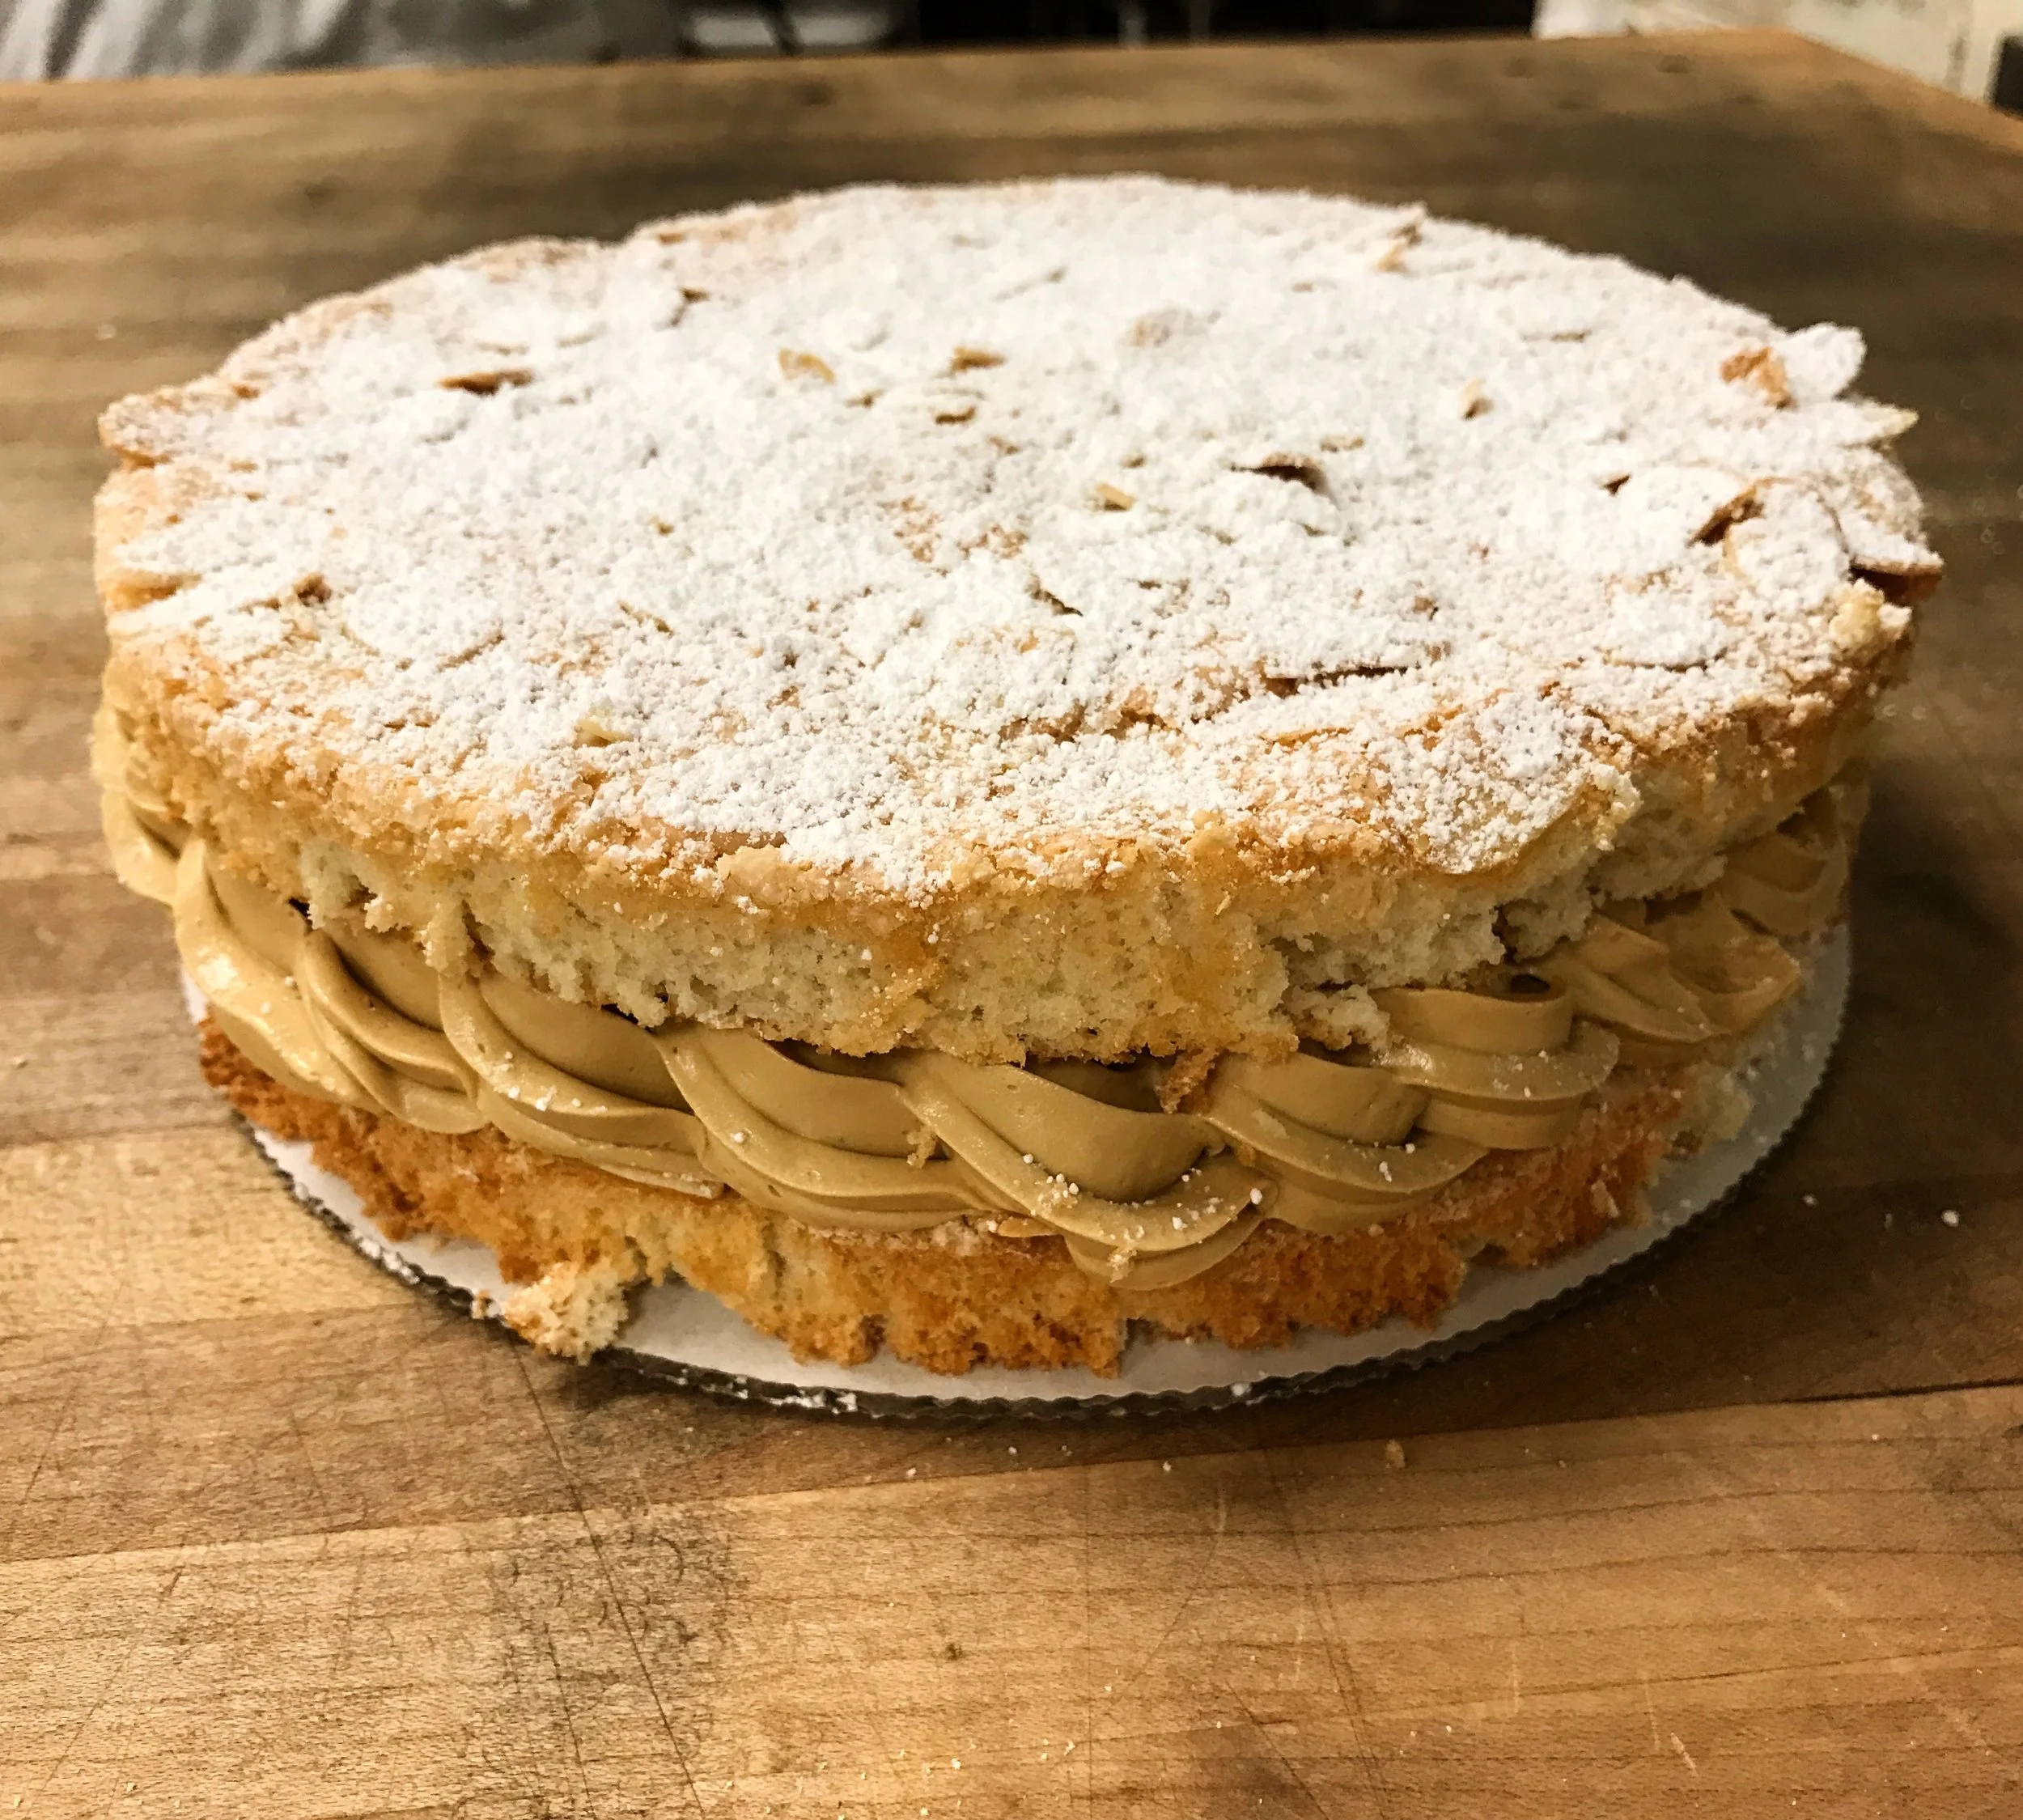
Once we were back from dinner, it was time to assemble the cake that we made the biscuit dacquoise for. We made a nice coffee flavored buttercream, and piped a nice thick layer around the outside, making sure that it looked pretty. We leaned a new piping technique: the rope. It looks really nice and isn't too difficult. The thing that I had the hardest time with was keeping them nice and tight, so that the frosting would be able to support the weight of the cake on top. Once the pretty border was piped around the outside, we just sort of had to fill up the middle so it was the same height as the edge. From there, we just popped the top layer of cake on and dusted it with a little bit of powdered sugar. Just like that, the week was done!
Biscuit dacquoise
Stay tuned for my next blog, and if you want more frequent updates, you can check out my Instagram.
Thanks for reading!